-
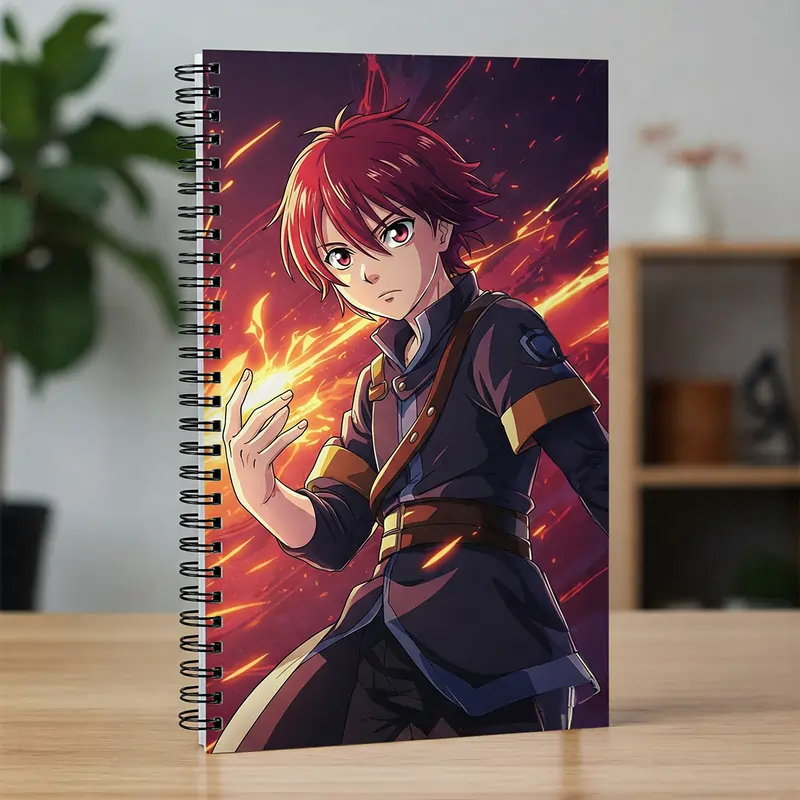
 Perfect Bind Notebook ₹125.00
-
 Personalized Coffee Mugs ₹235.00
-
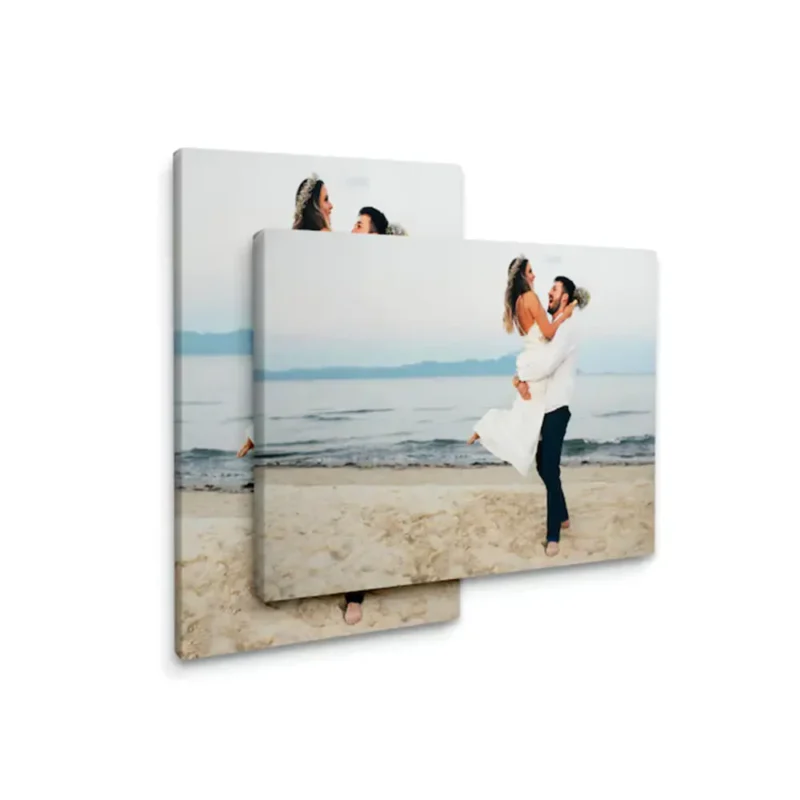 Custom Canvas Prints ₹715.00
-
 Premium Laminated Cards From ₹3.30 per unit

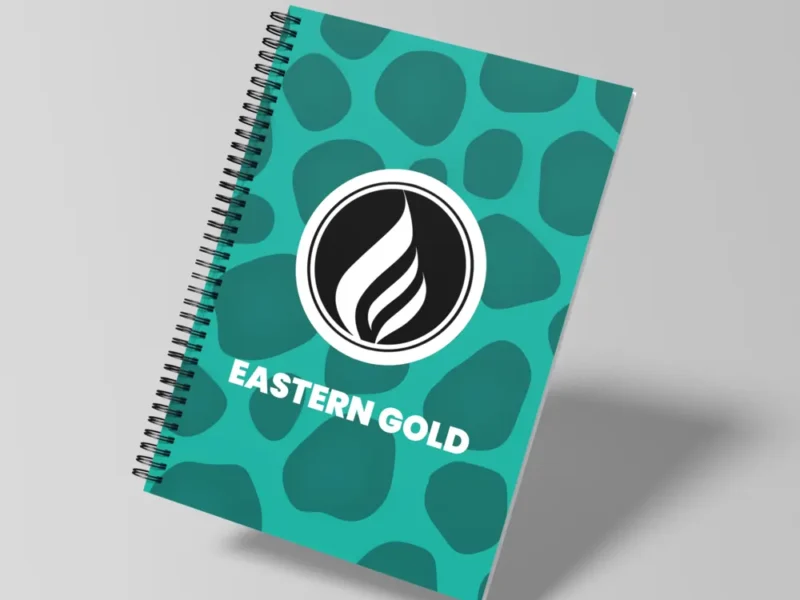
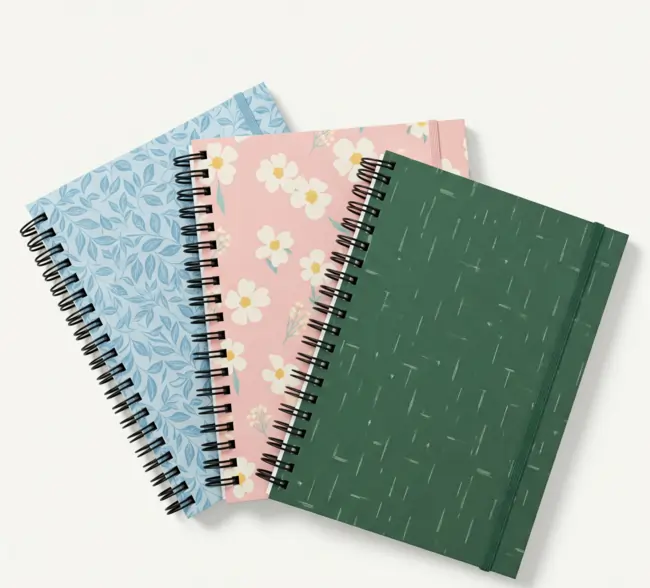
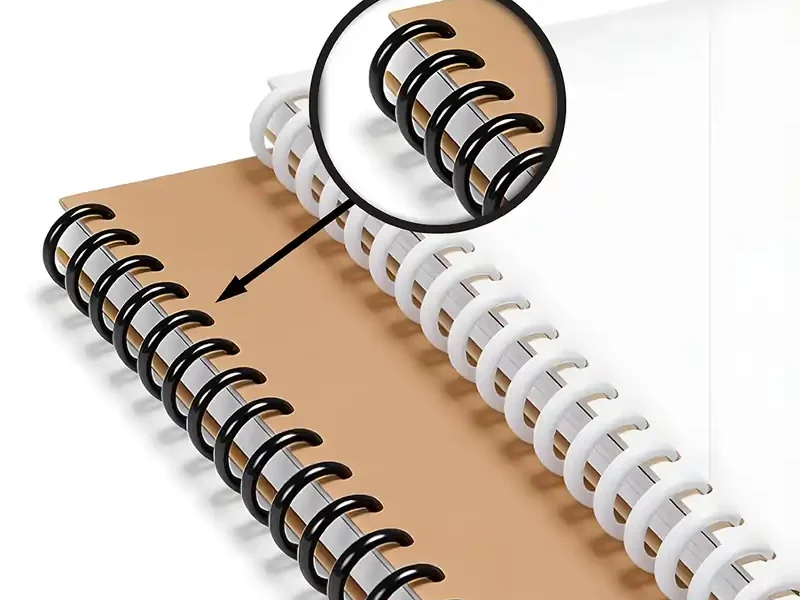


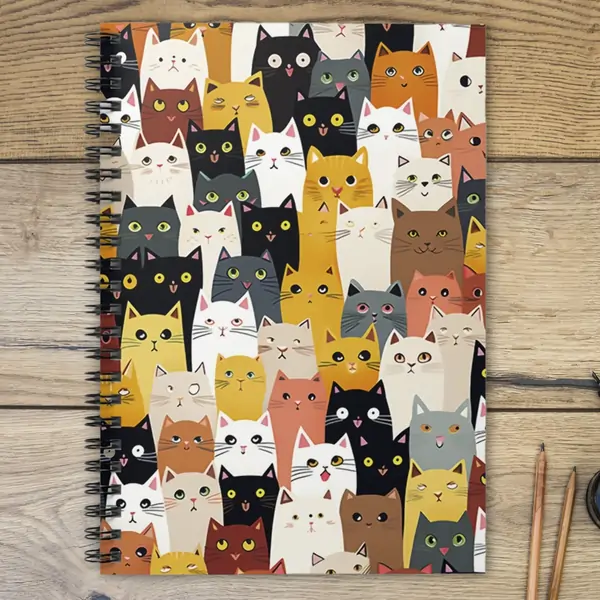

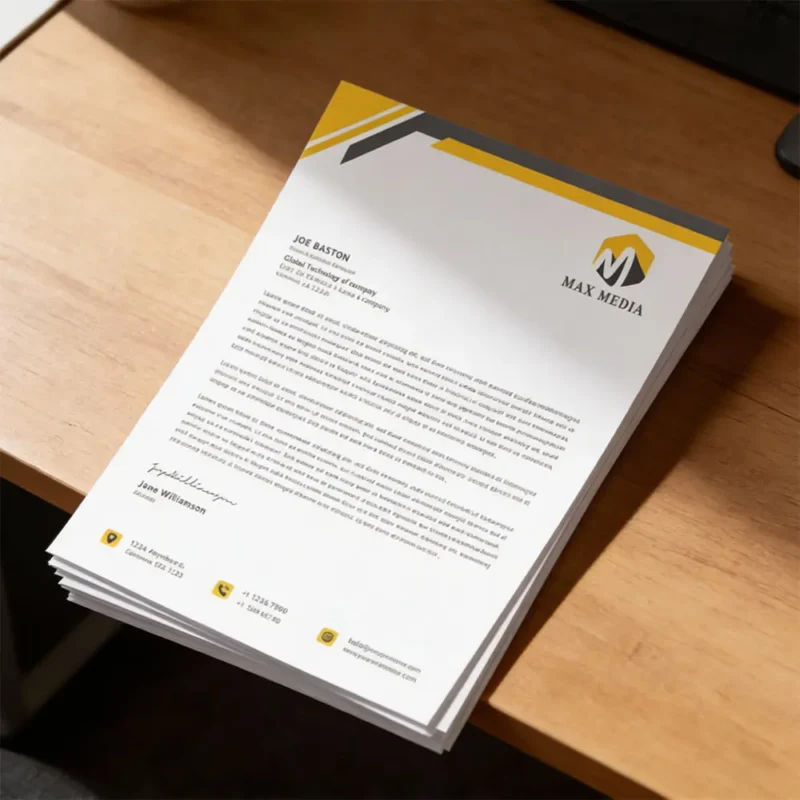
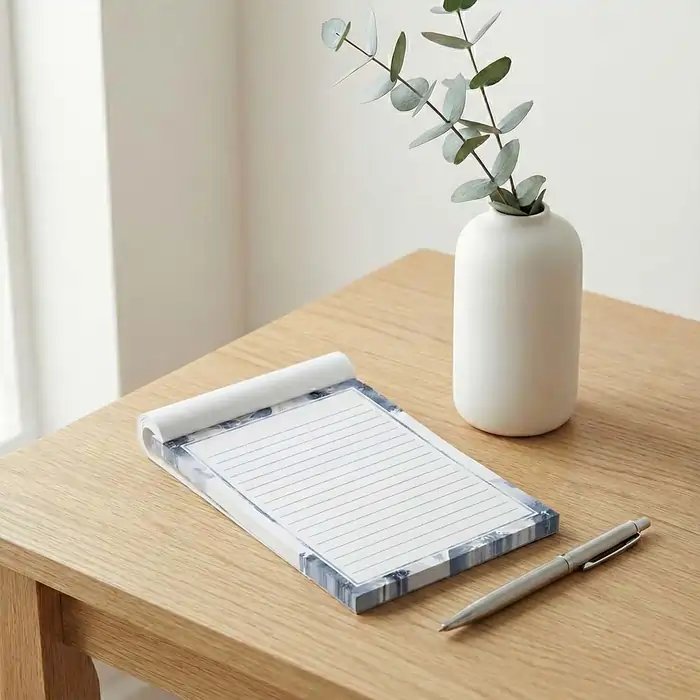
Make your brand memorable with practical giveaways! Custom-branded notebooks are perfect for events and promotions, helping you leave a strong and lasting impression.
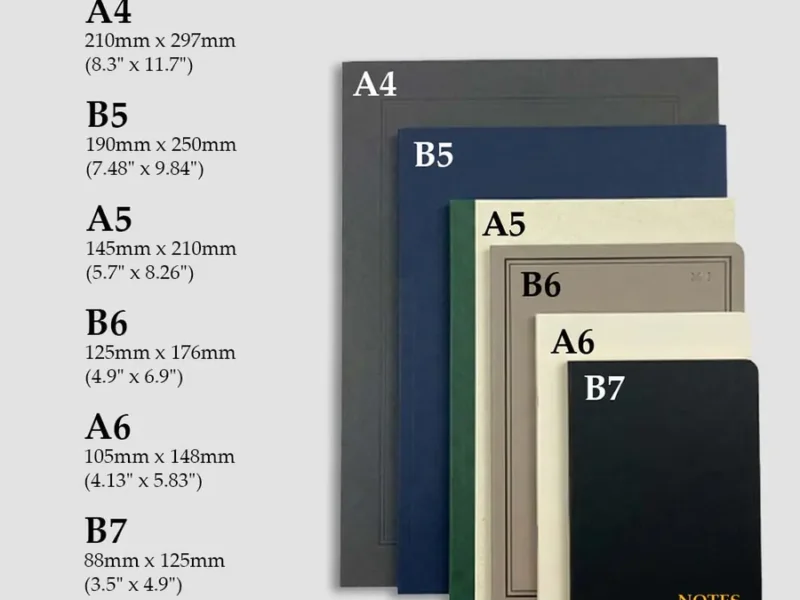
Available in A5 size
Choose from 2 cover material options
Select 80 or 160 pages (40/80 sheets) in 90 GSM paper
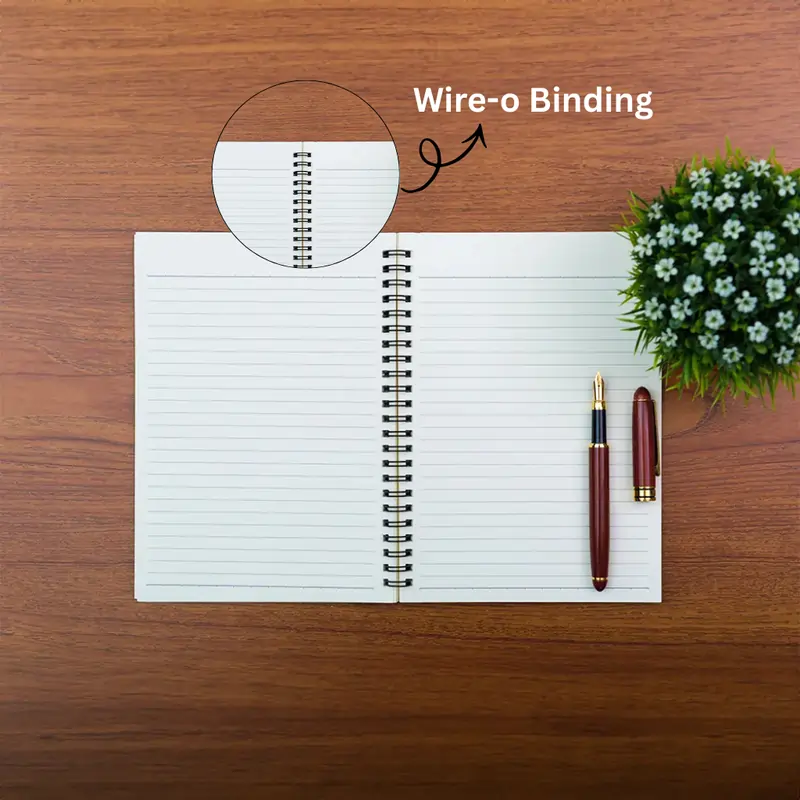
Inner pages available in blank or ruled printed styles
Minimum order starts from just 5 piece
No account yet?
Create an Account